Last class ,we learned how to manipulate and move through our terrain. Today i would like to go a step further by adding a sky, trees and water.
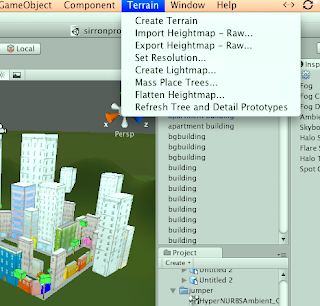
All items that are associated with terrain are under "terrain" in the top menu.

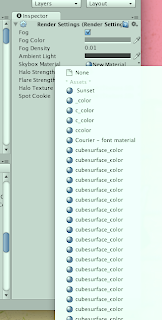
To add a sky, go to"edit" > "render settings," you should then see a section called "skybox."

Adding trees is also simple; go to the attributes of the terrain, and the tree button should be pressed as you select your desired tree. Place trees down by clicking on the scene.
Water is equally as easy; you will find water in your "pro standard assets," so just drag and drop the water, but you must change the size in the inspector.
Currently, our scenes are very dark; with out adding "directional" light, we cant see anything,
so go to "game object" > "create other" > "directional light," and move the light to obtain your desired look, then make sure you burn the light map by going to "terrain" > "create light map."
Last thing we learned was how to reverse our normals in order for our models to be inserted into Unity properly. Remember to make a copy of your object first, and then reverse its normals by making it editable on planes, and right-clicking to select "reverse normals."

No comments:
Post a Comment